Khởi tạo Cloudfront cho Web Server
- Truy cập AWS Management Console
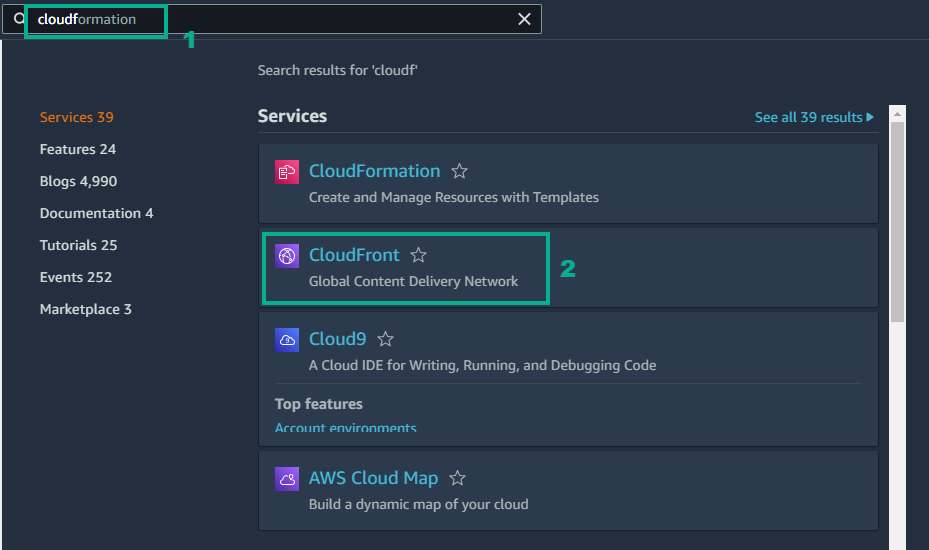
- Tìm Cloudfront
- Chọn Cloudfront
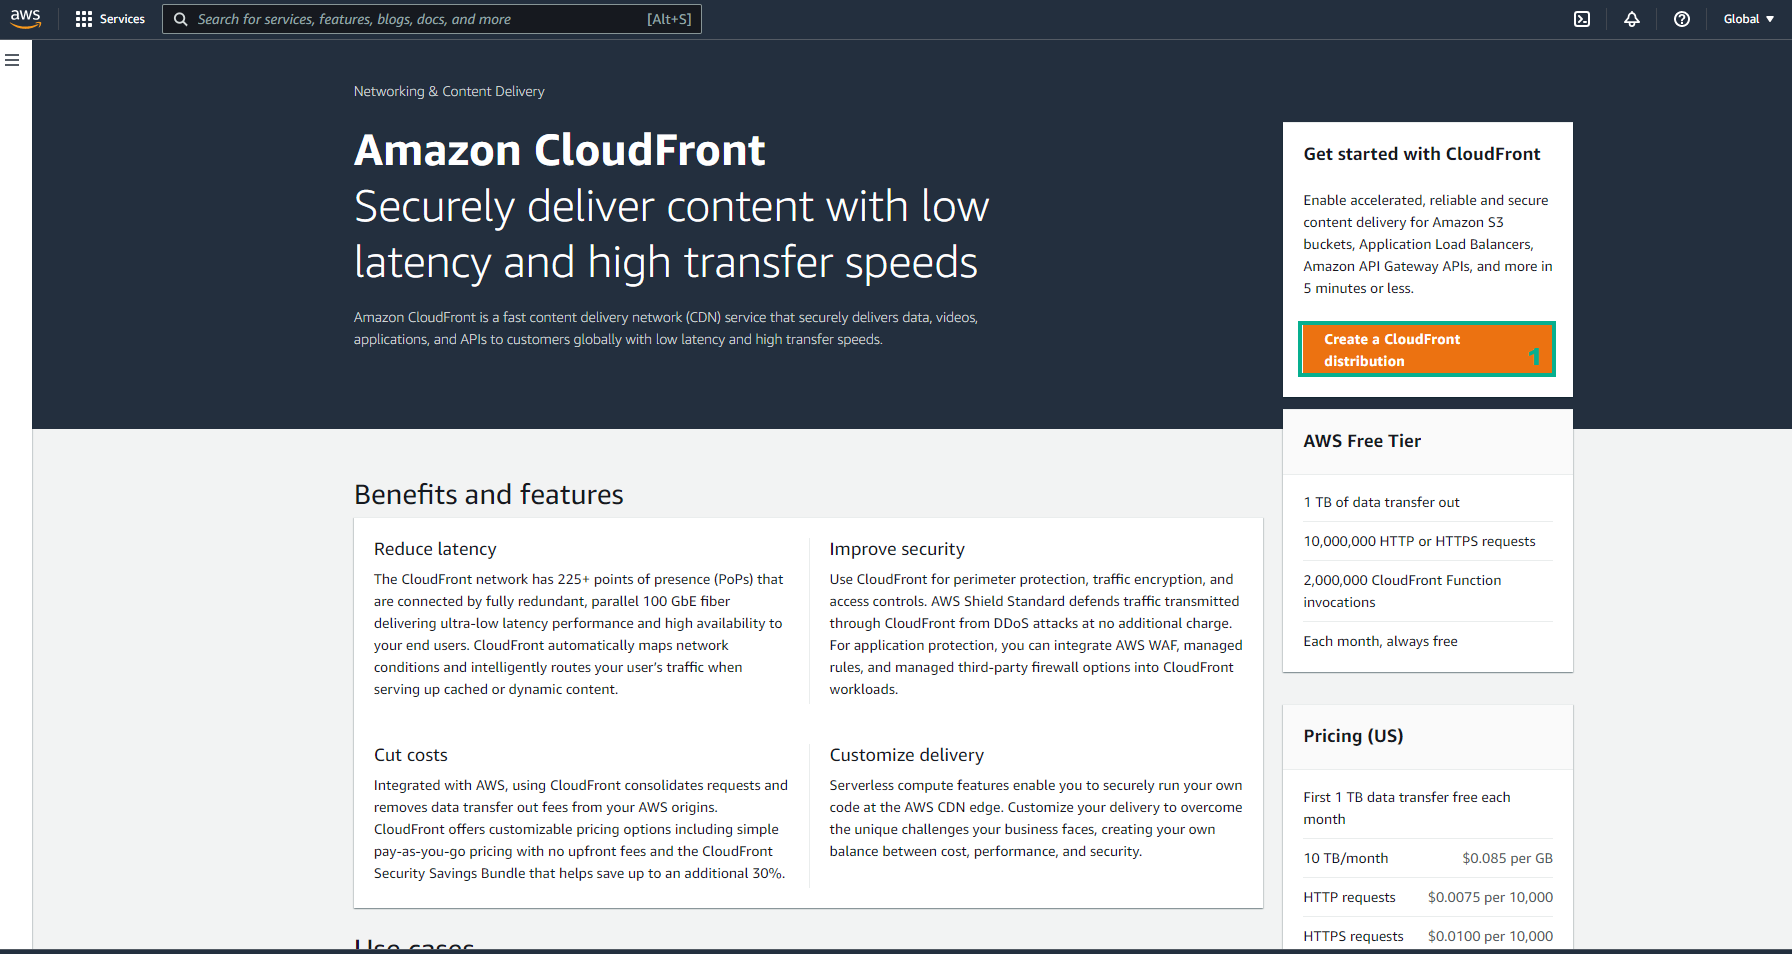
- Trong giao diện Cloudfront
- Chọn Create a Cloudfront Distribution
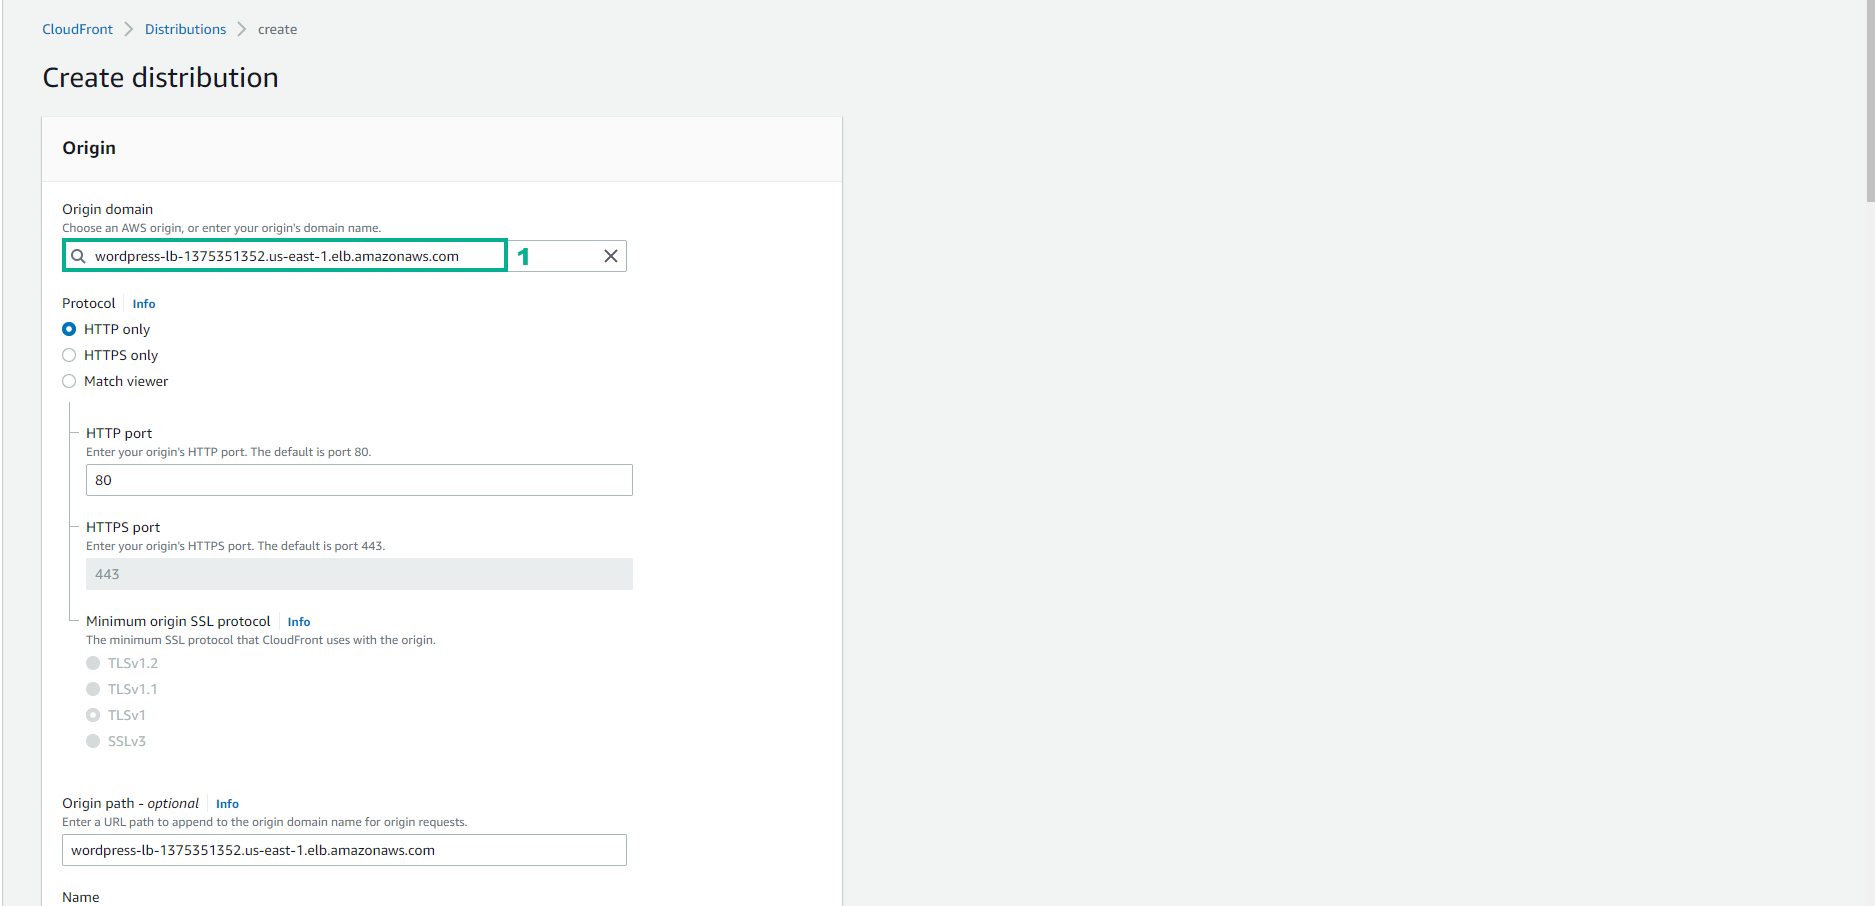
- Trong giao diện Create
- Origin domain chọn Load Balancer domain
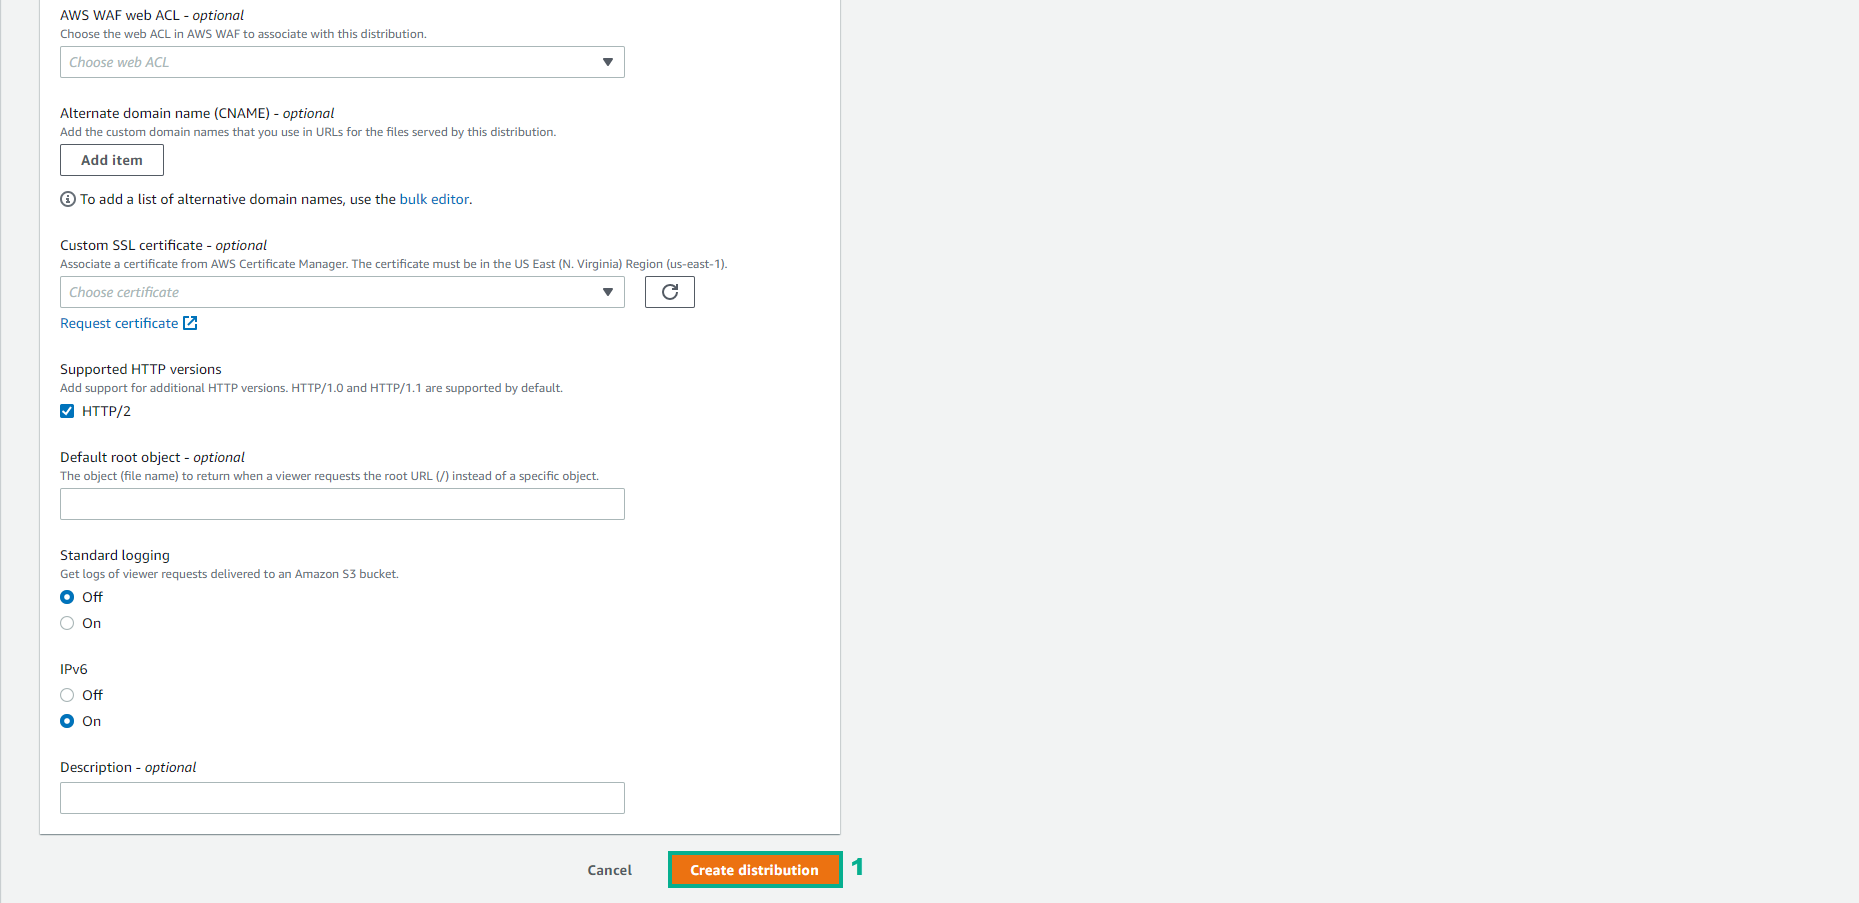
- Tiếp theo để mọi thứ mặc định và chọn Create distribution
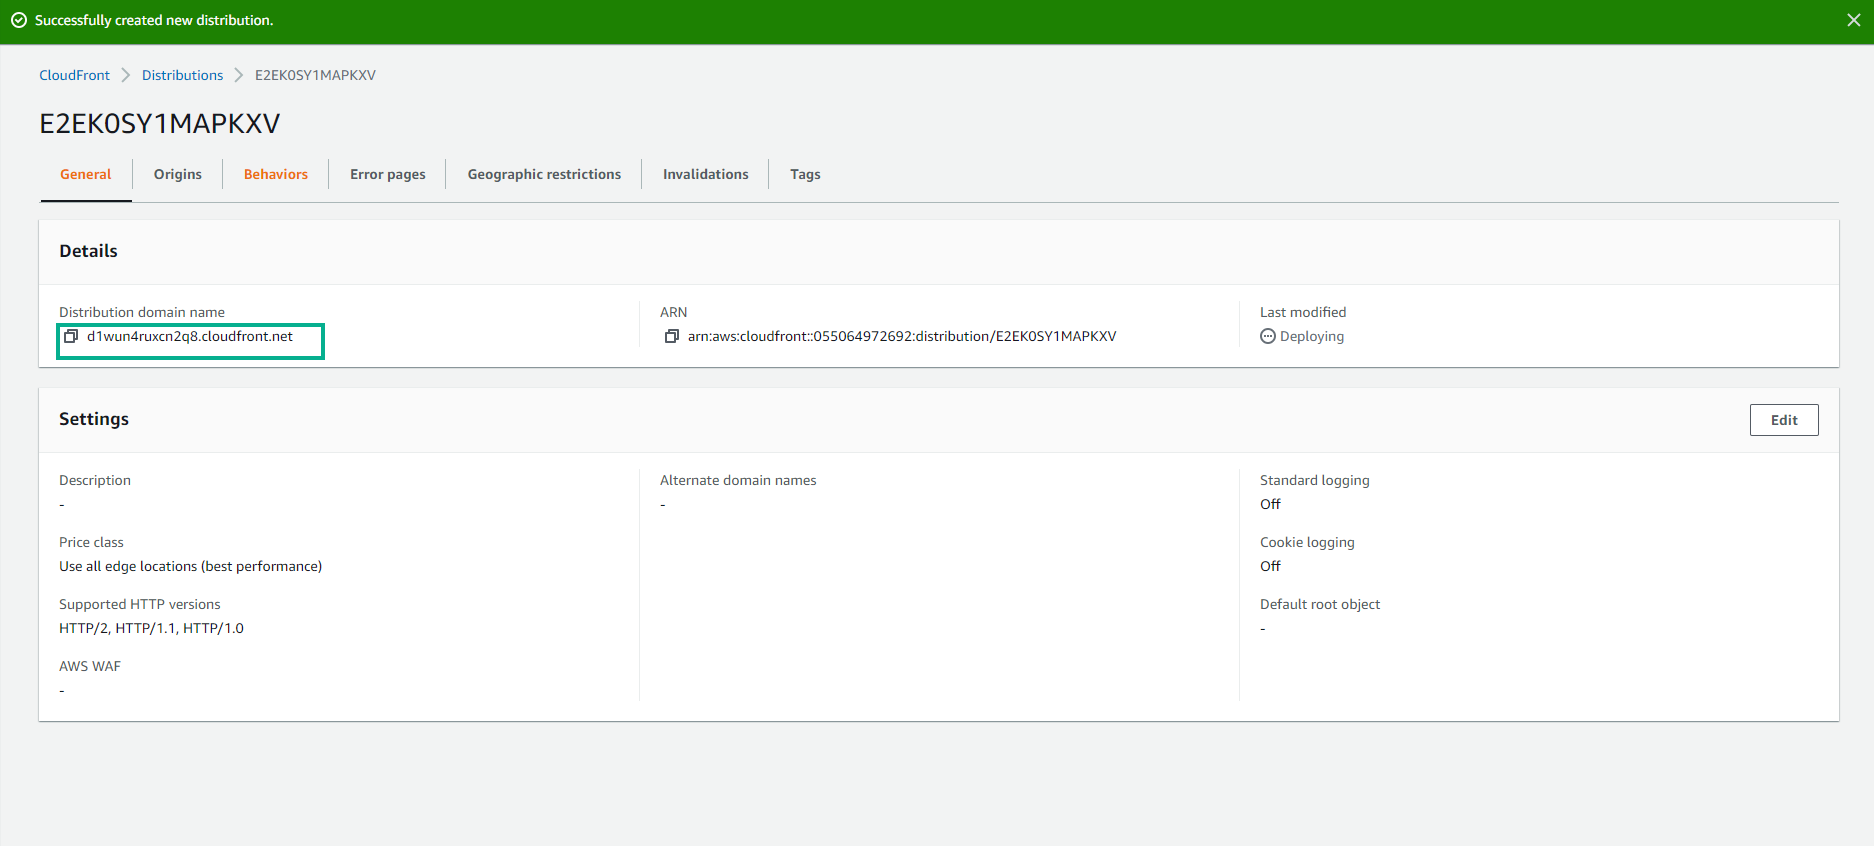
- Sau khi tạo thành công Cloudfront Distribution quá trình khởi tạo khoảng 5 phút.
- Lưu lại giá trị Distribution Domain Name để tiến hành cài đặt ở bước tiếp theo
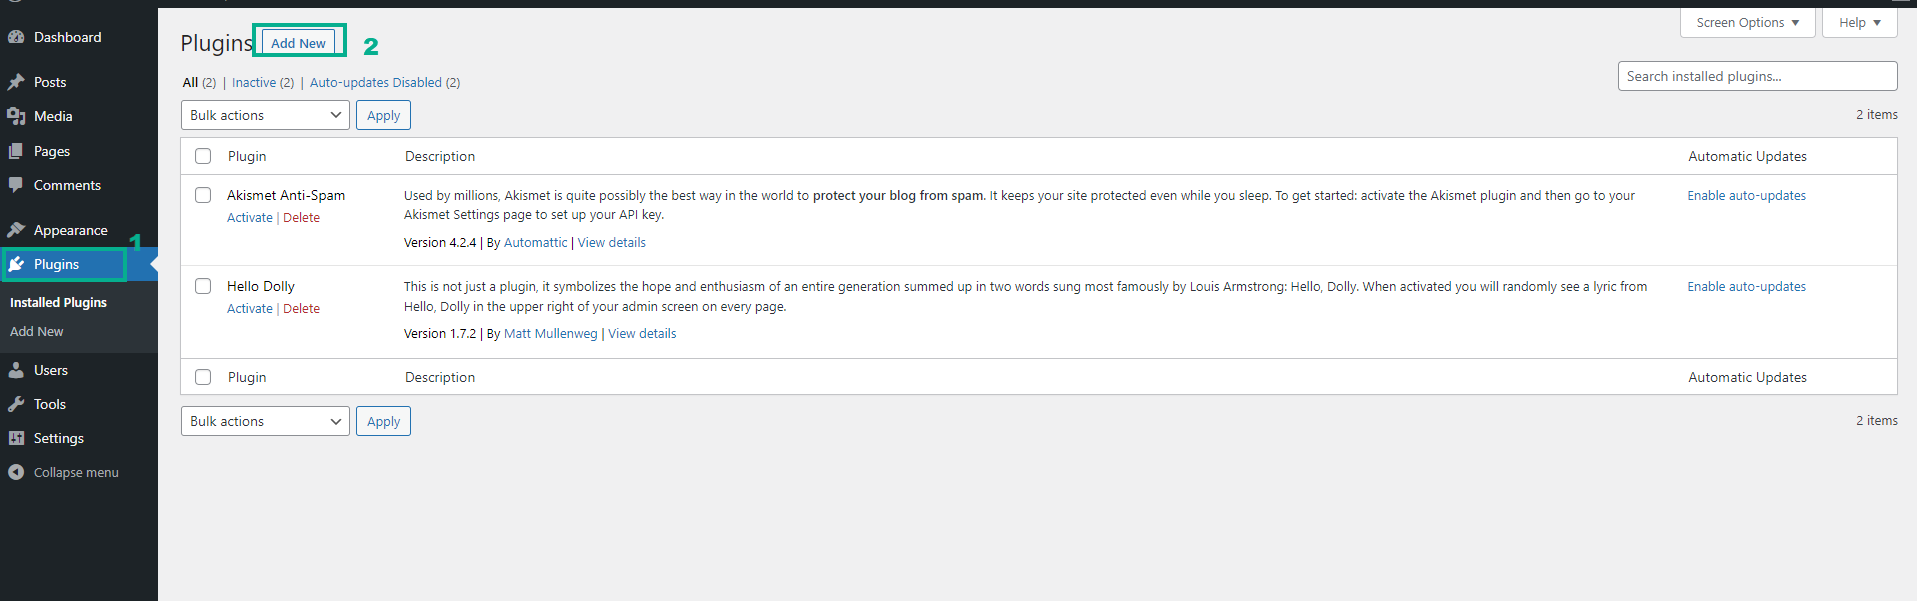
- Trong giao diện Wordpress wp-admin
- Chọn Plugin
- Chọn Add New
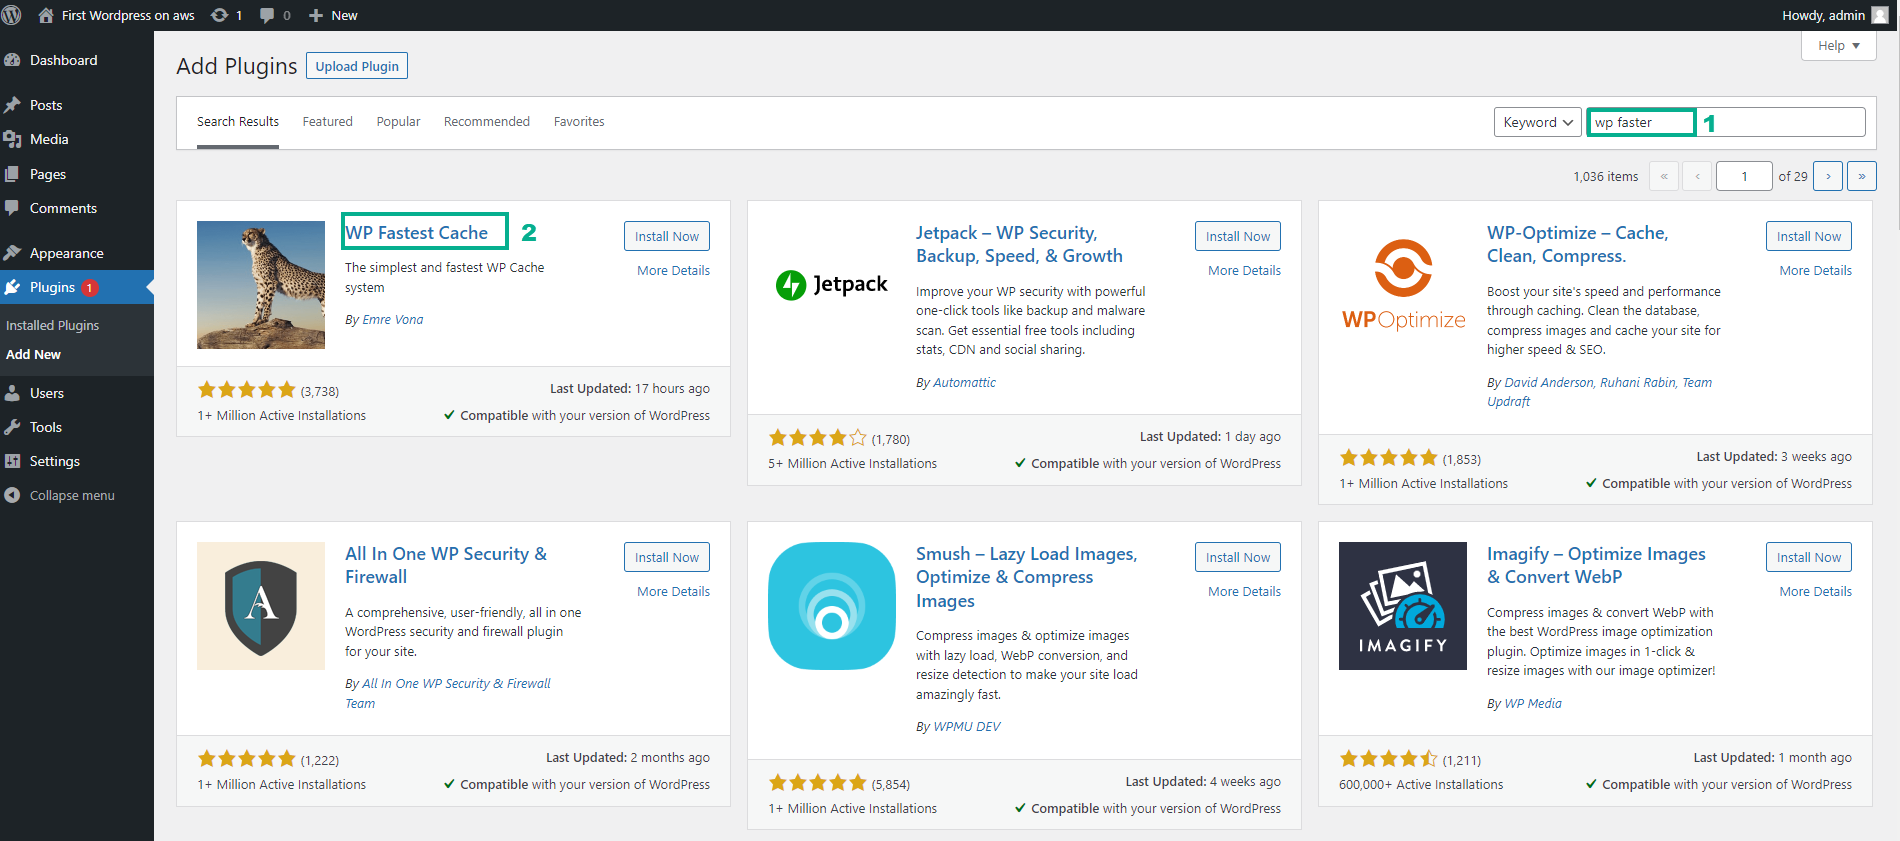
- Trong giao diện Plugin của Wordpress
- Gõ vào ô tìm kiếm: WP Faster Cache
- Chọn Install now
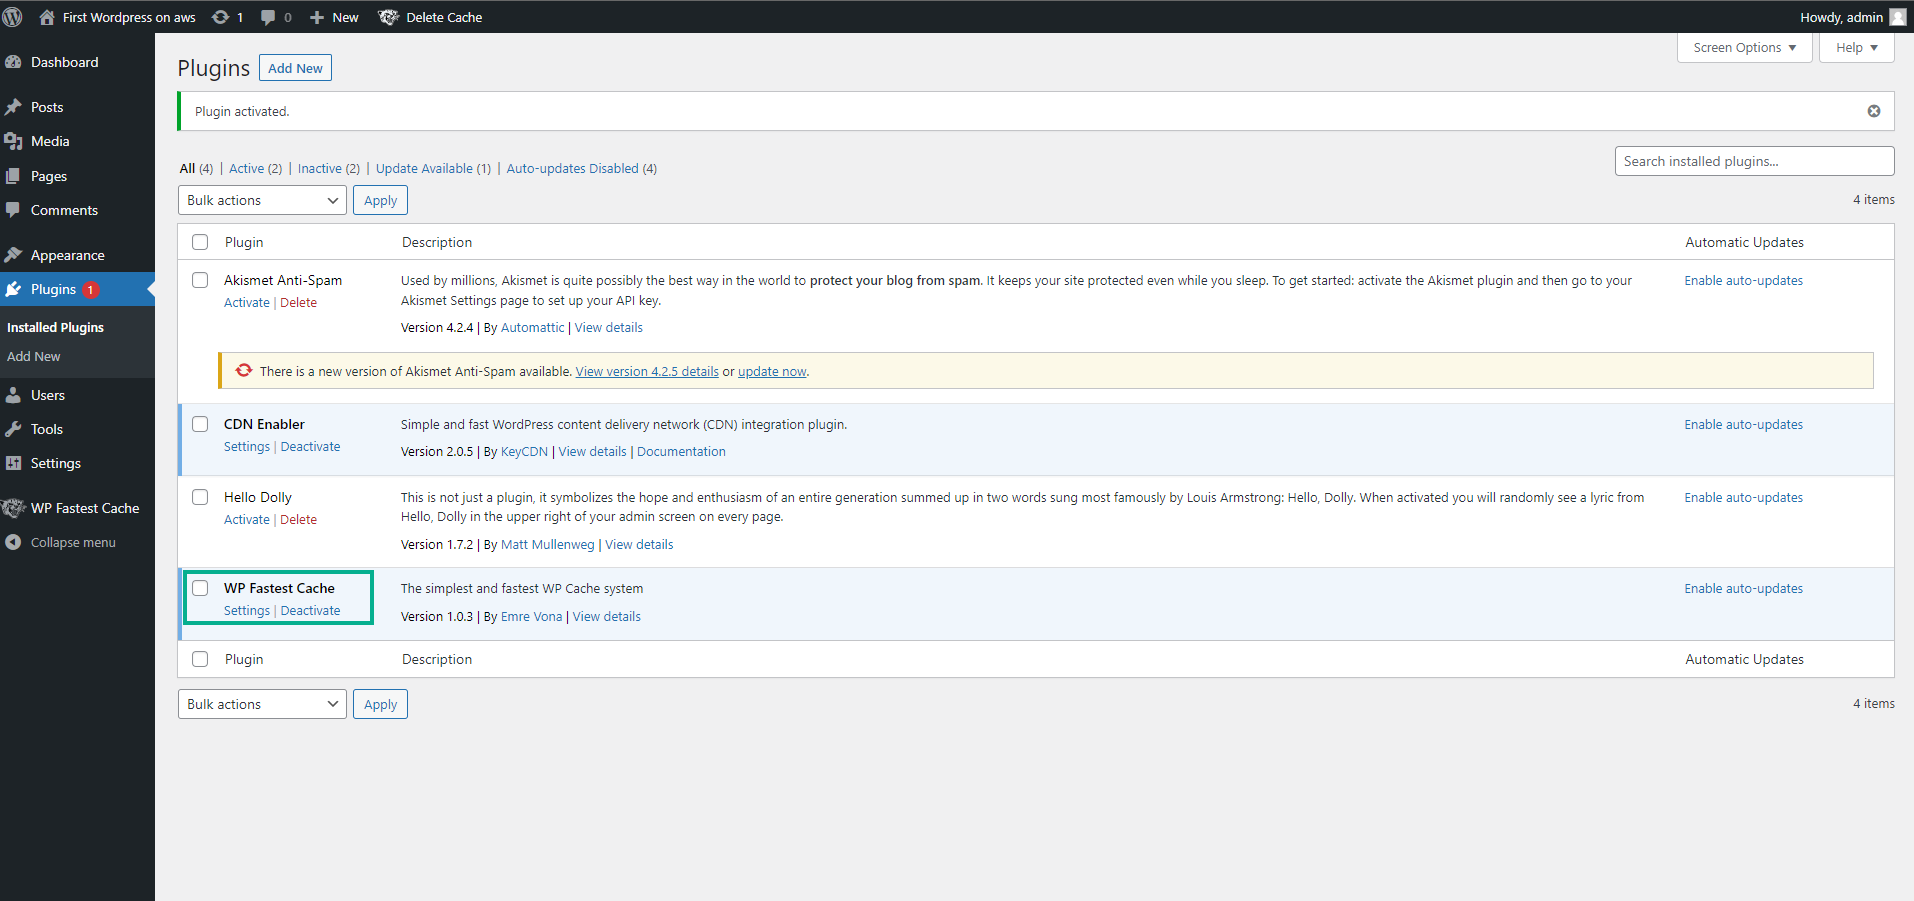
- Sau khi cài đặt thành công quay trở lại giao diện Plugin
- Chọn Plugin
- Tìm WP Faster Cache và chọn setting
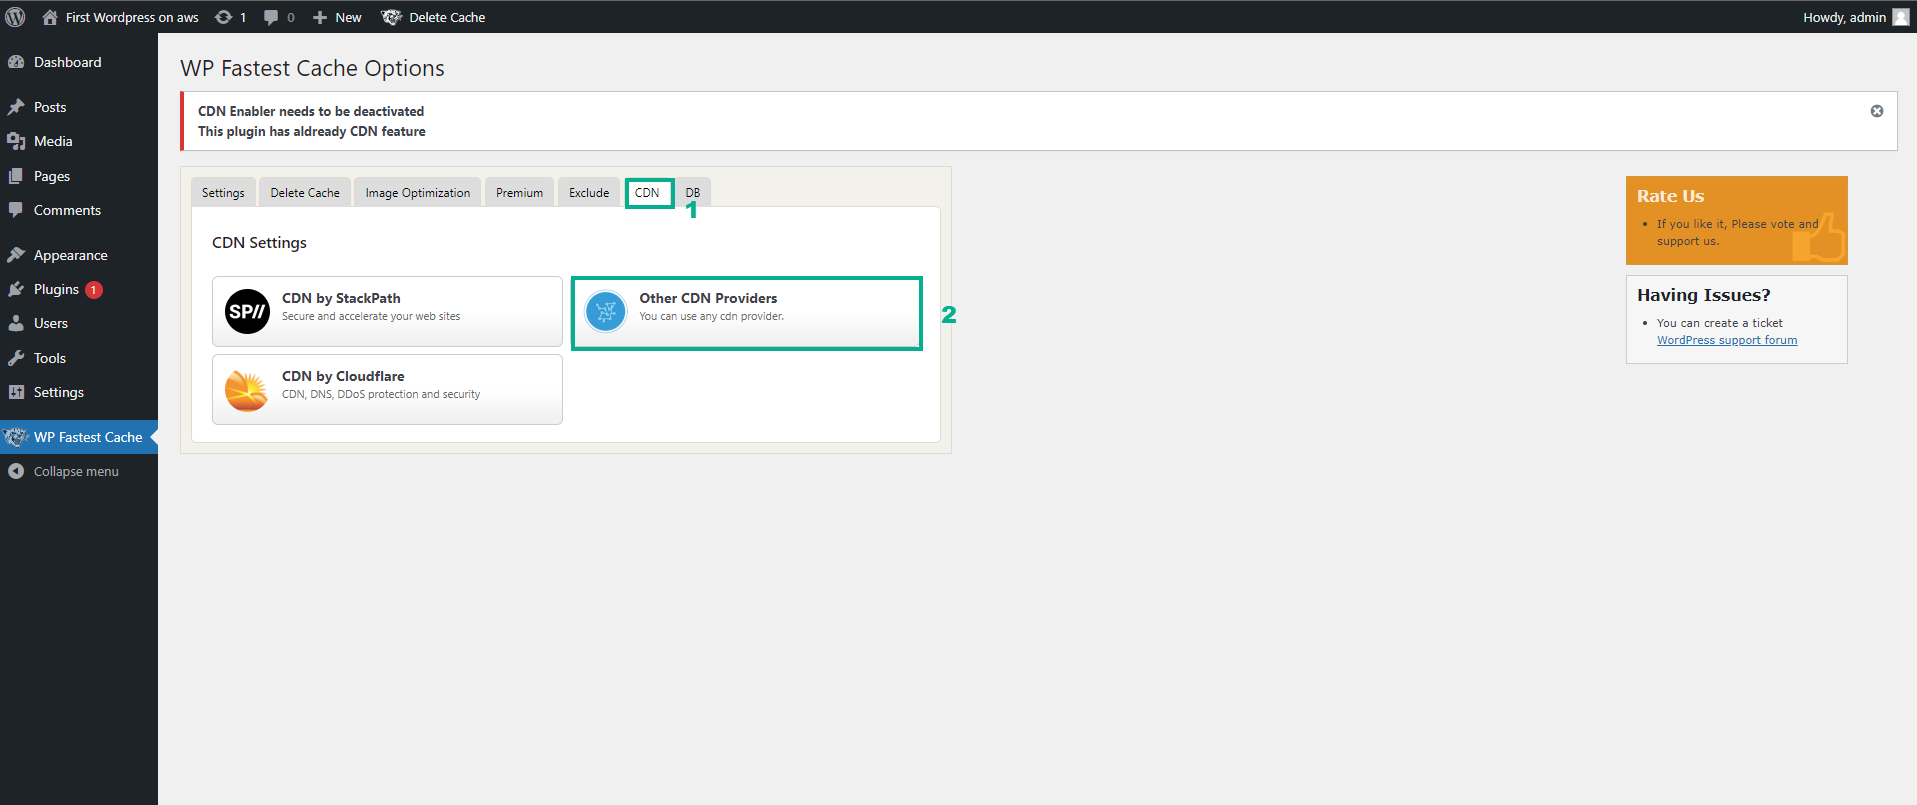
- Trong giao diện WP Faster Cache
- Chọn CDN trên thanh công cụ
- Tiếp chọn Orther CDN Providers
- Một hộp thoại xuất hiện tiến hành nhập
- CDN Url: <địa chỉ Cloudfront distribution mà bạn vừa tạo ở bước trước đó>
- Origin Url: <địa chỉ dns ipv4 của ec2 instance webserver>
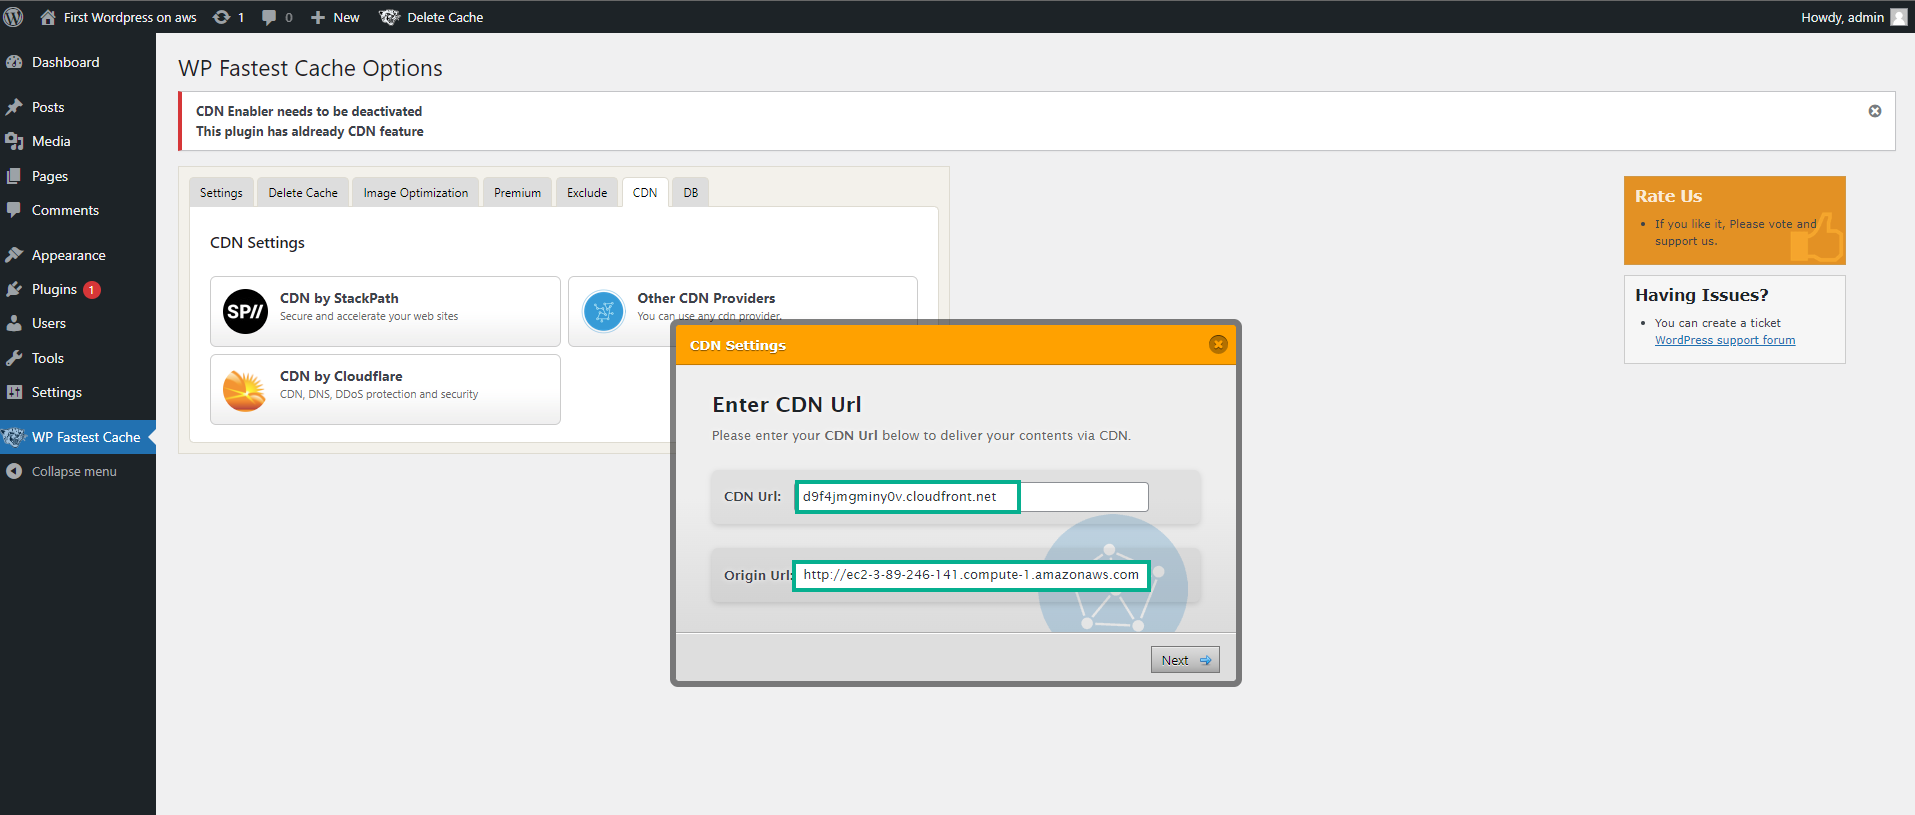
- Tiếp tục chọn Next trong các bước tiếp theo cho tới finish
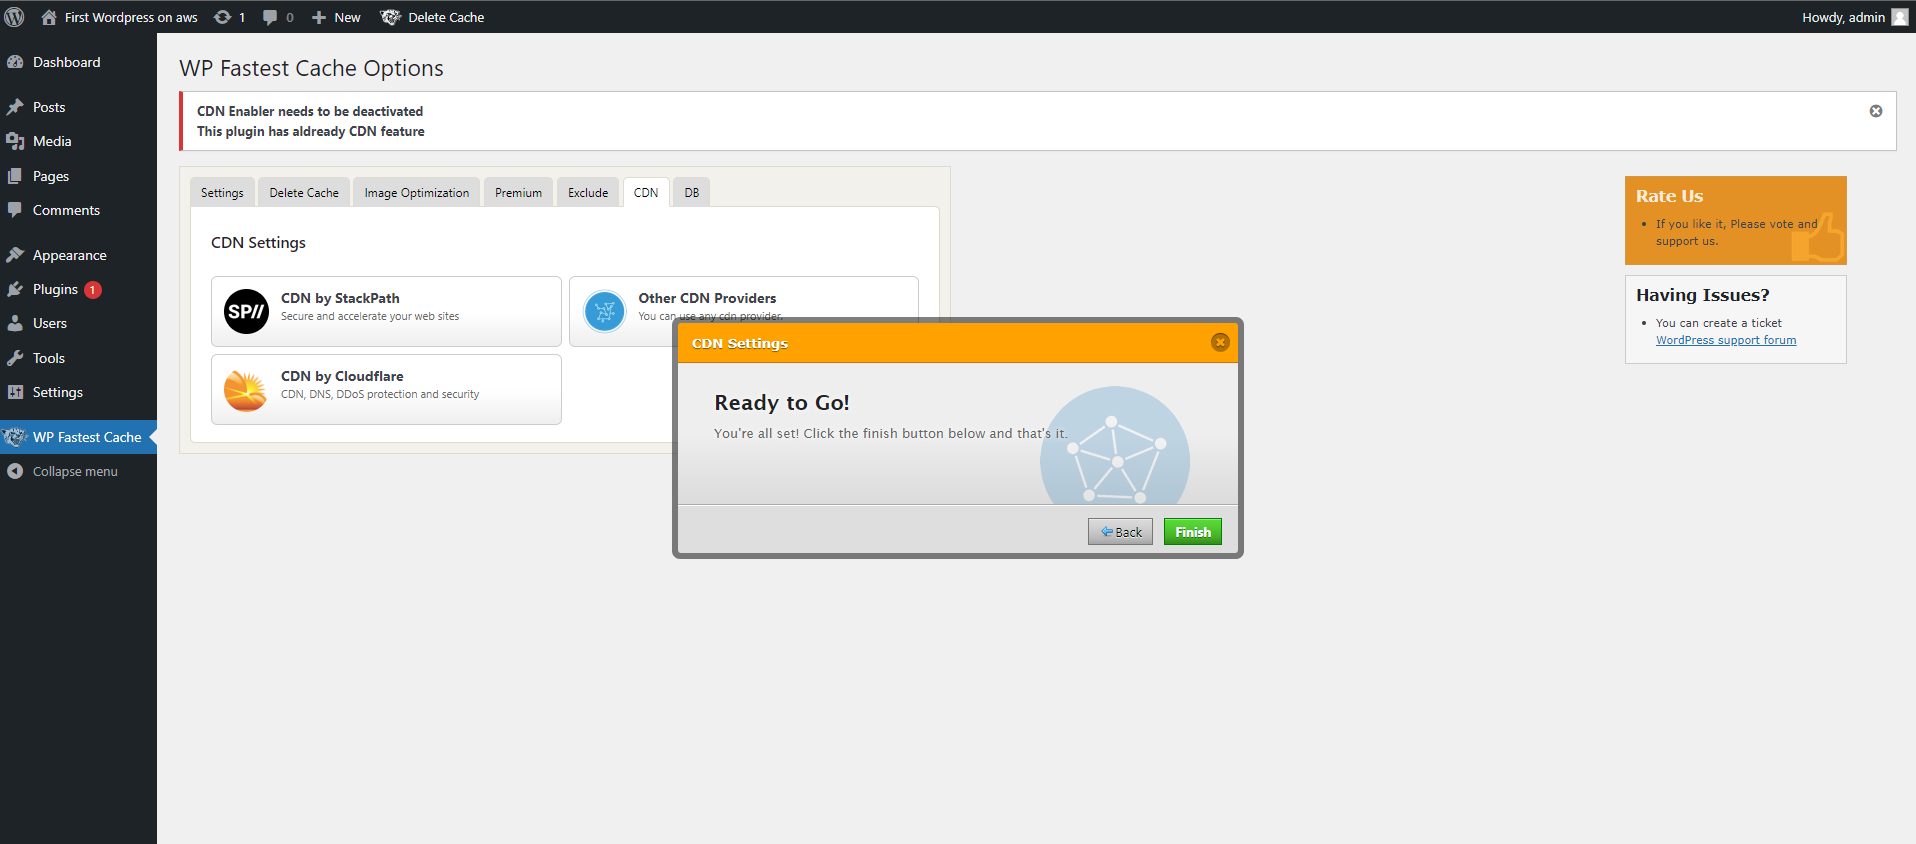
- Sau khi thiết lập hoàn tất
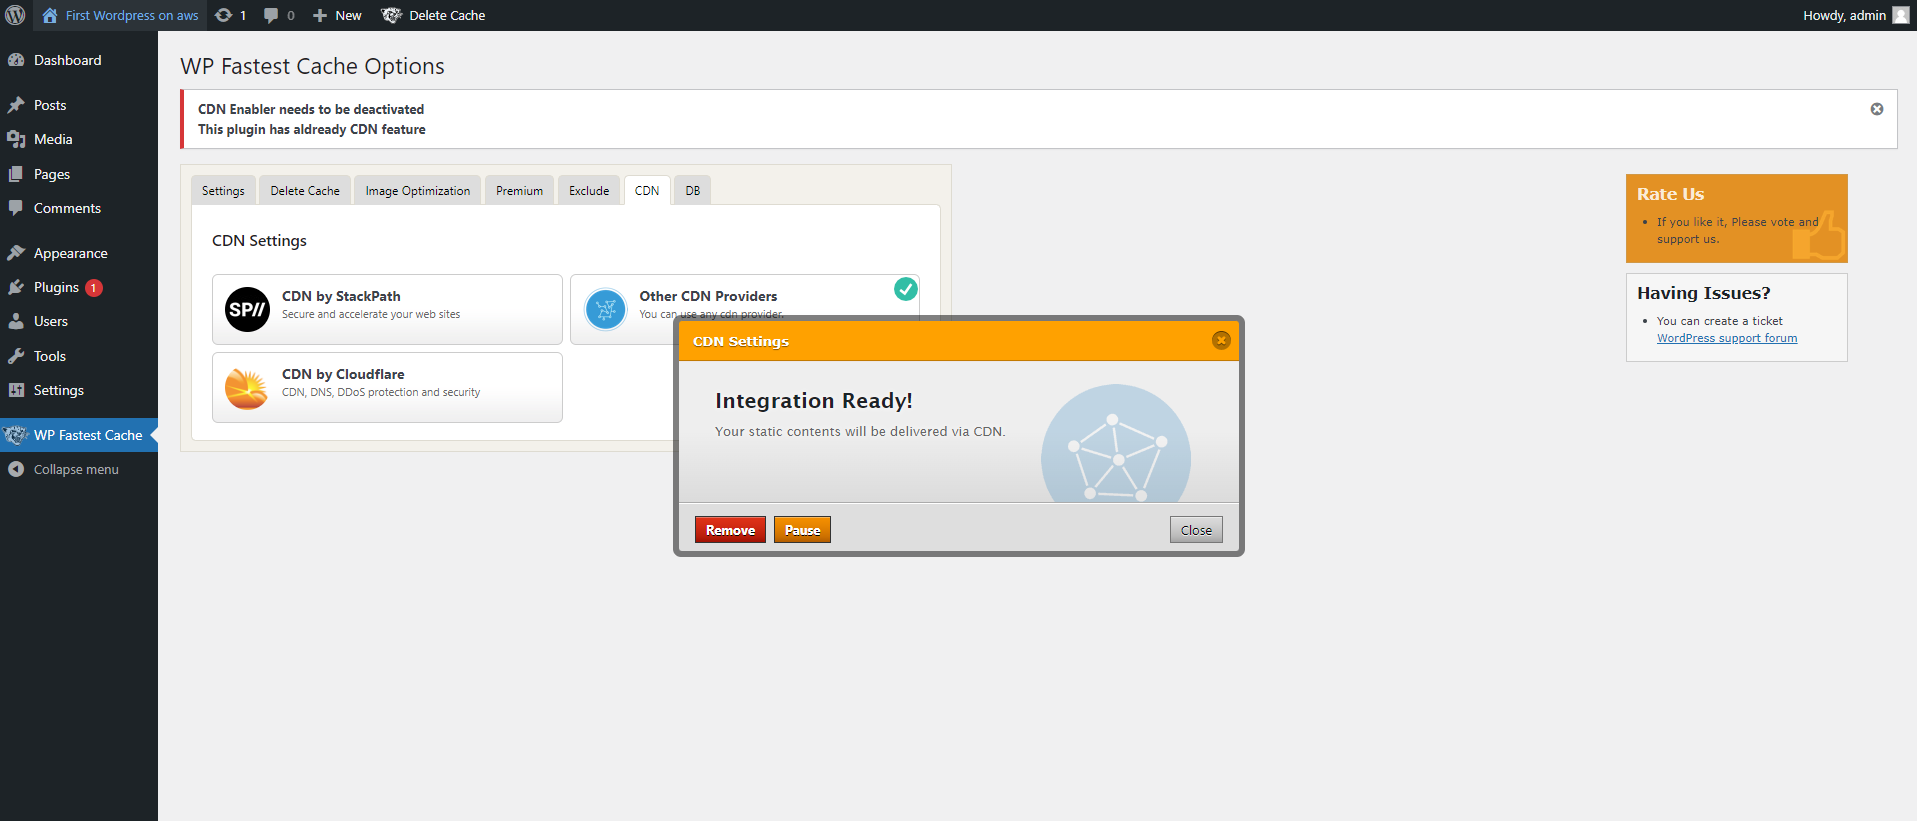
Vậy là quá trình cài đặt CDN cho Wordpress đã hoàn tất.